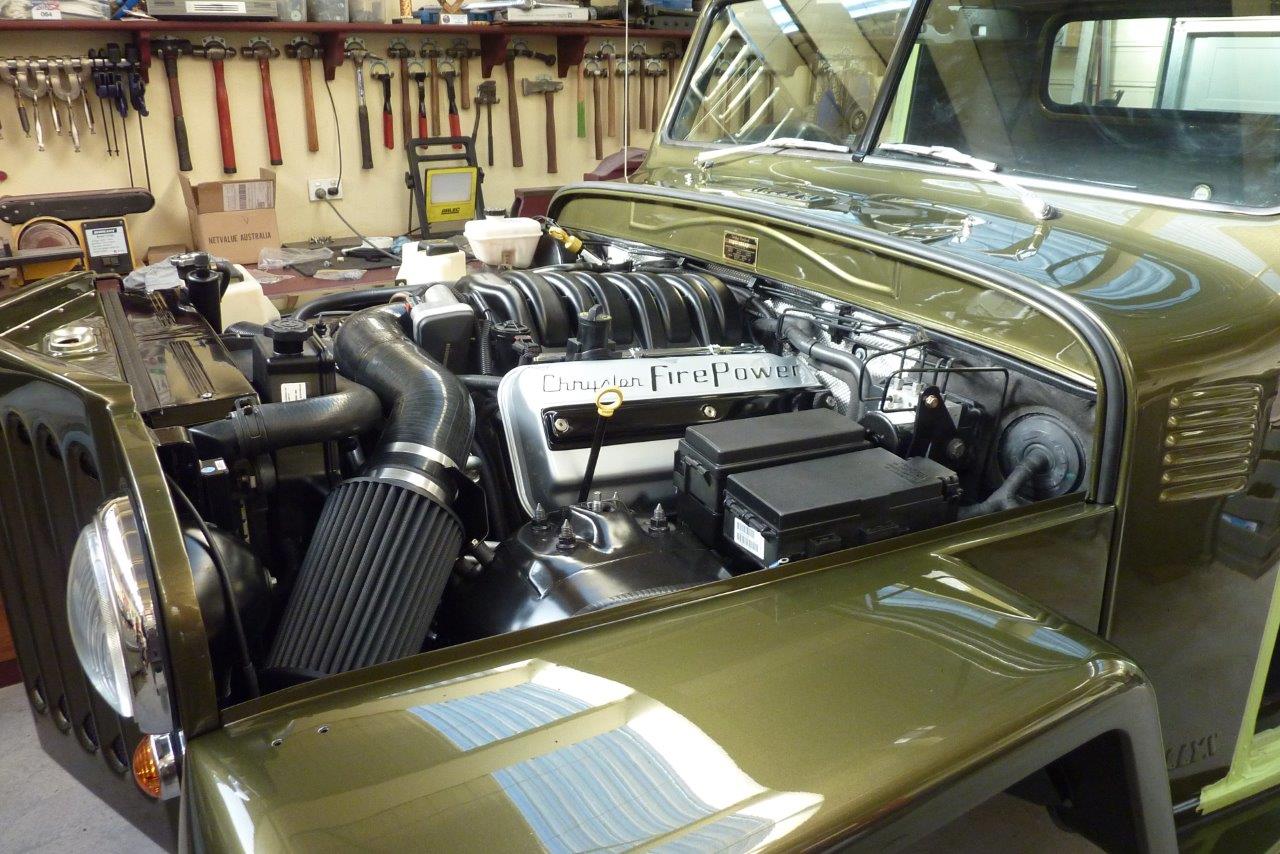
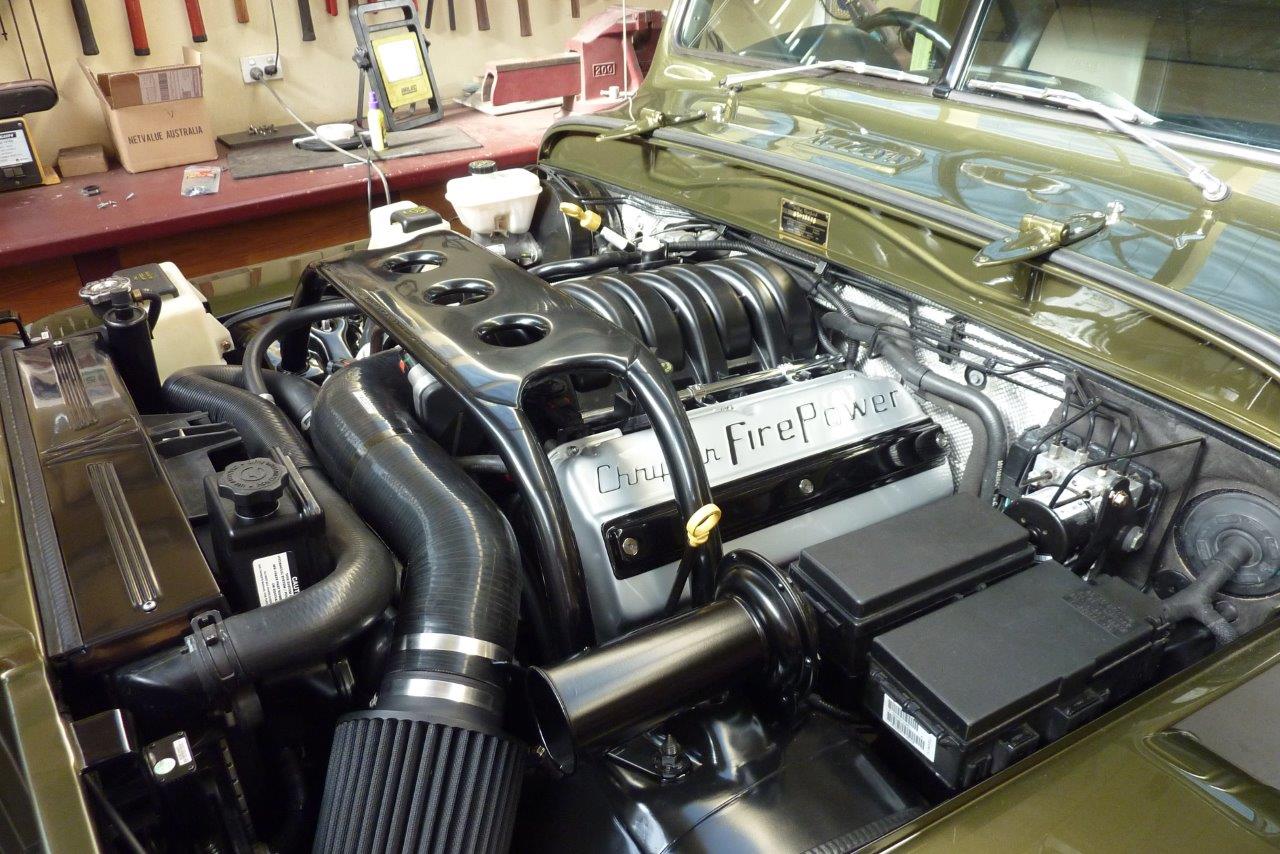
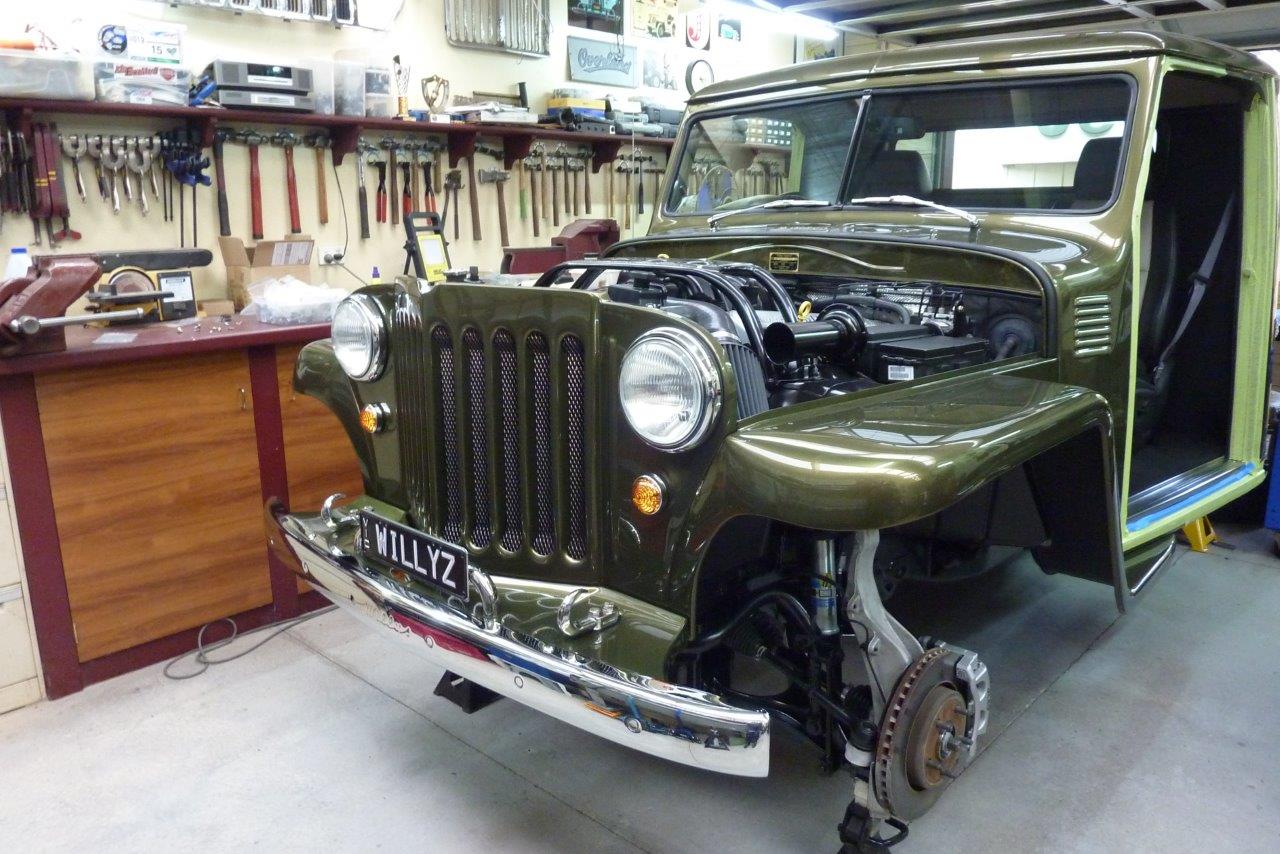
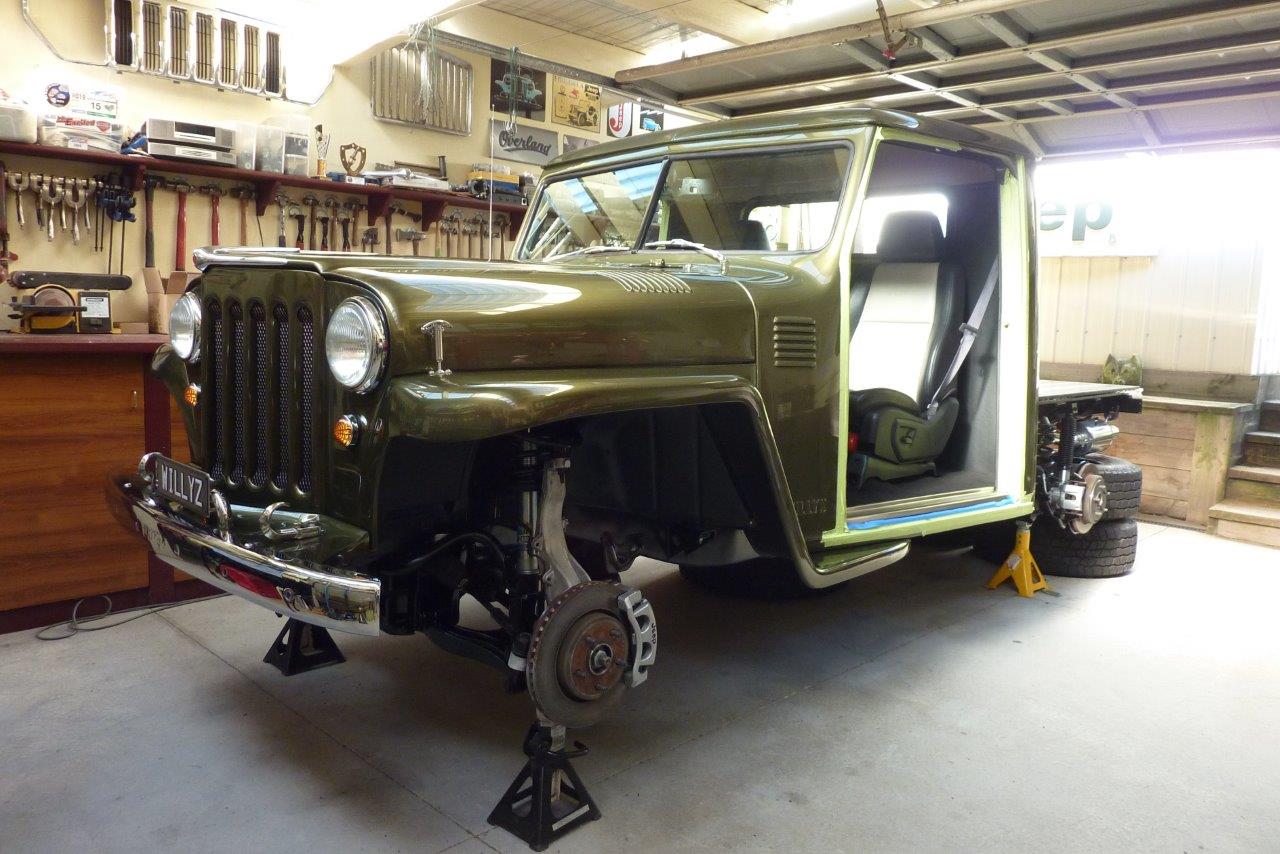
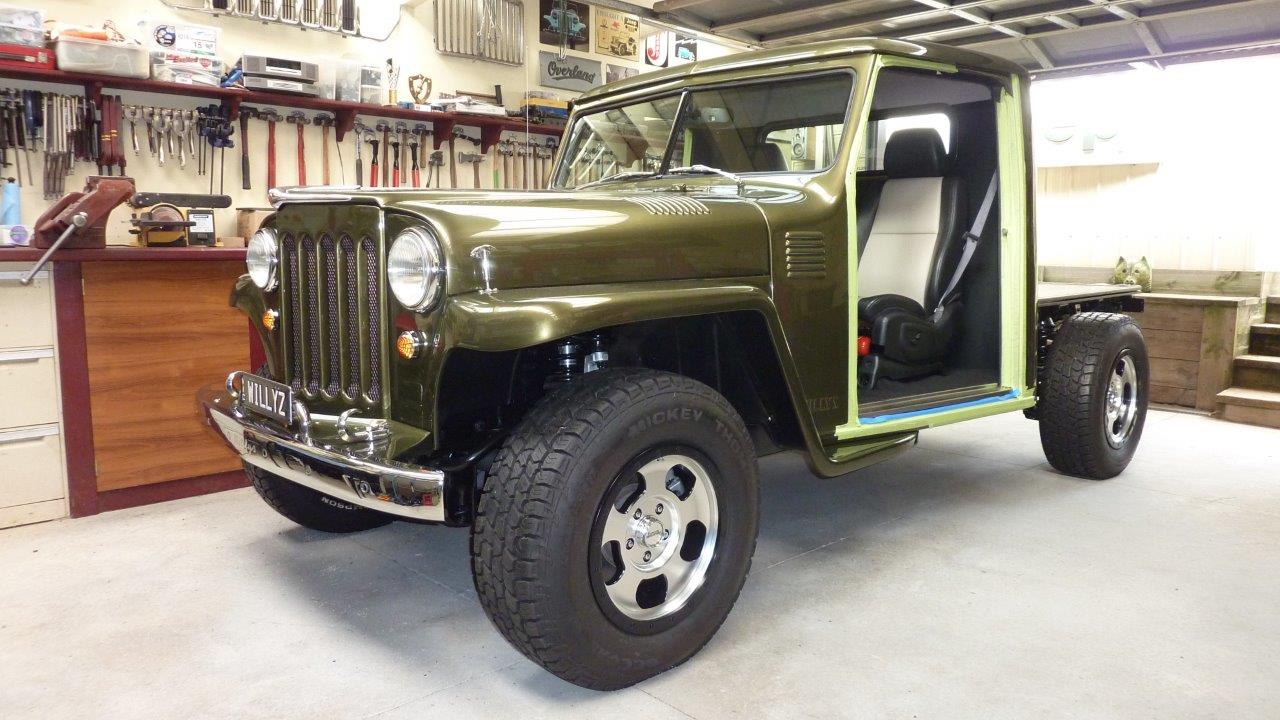
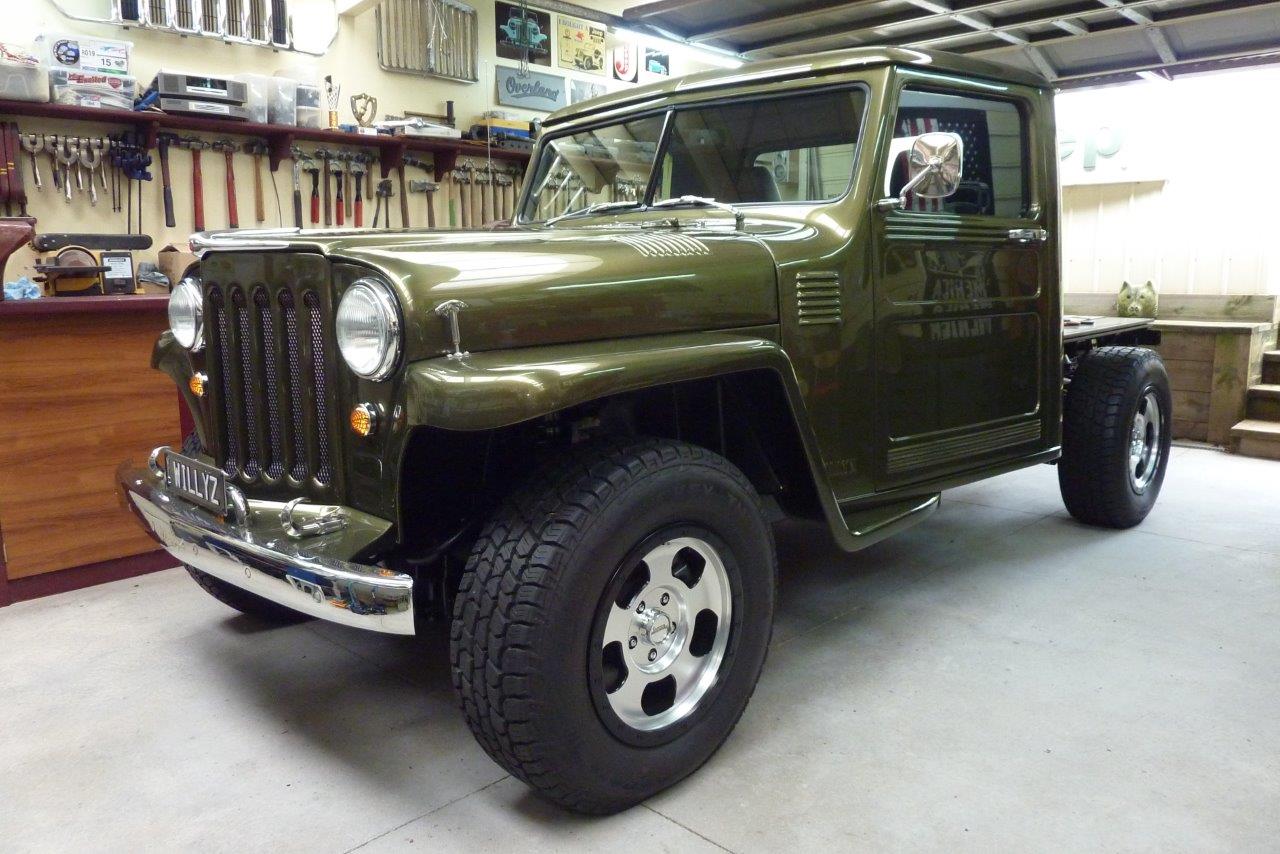
Keeping the rebuild brief as you have all seen it go together before over the coarse of the build.
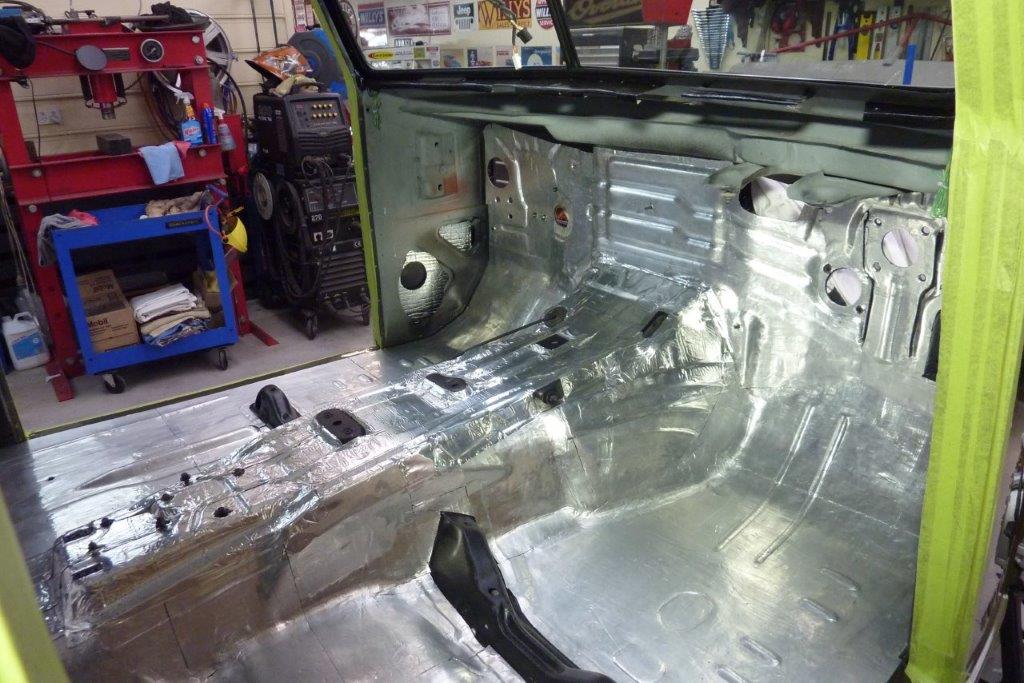
Something that is being added for the first time is the heat, sound and vibration layer. The floor is all done in Resomat which was even used in our Australian army vehicles and was locally made near me. A layer of loaded vinyl and aluminium and can even be pulled back and stuck back down if needed. Pity it is no longer made! Top of the tunnel is done in the more common butyl and aluminium layer and can be bought by the roll in different widths from the hardware store as I had run out of the Resomat.
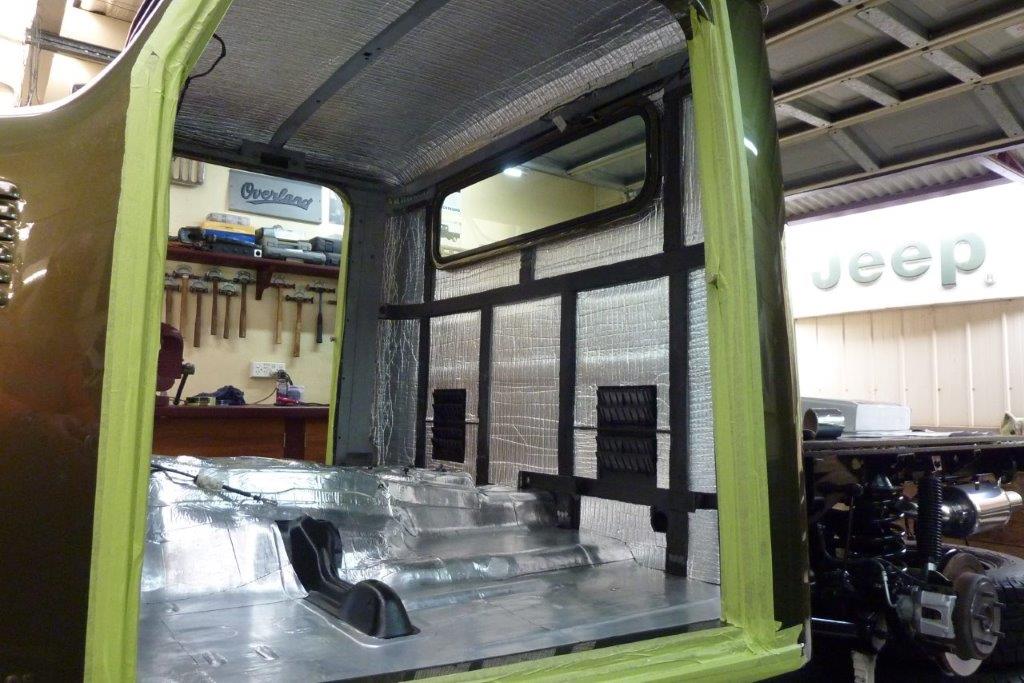
The whole rear wall and ceiling is layered in Formshield, https://www.clarkrubber.com.au/produ...778-formshield, which is a sound and heat control substance which is also a moisture and fungi protection layer and is fire rated.
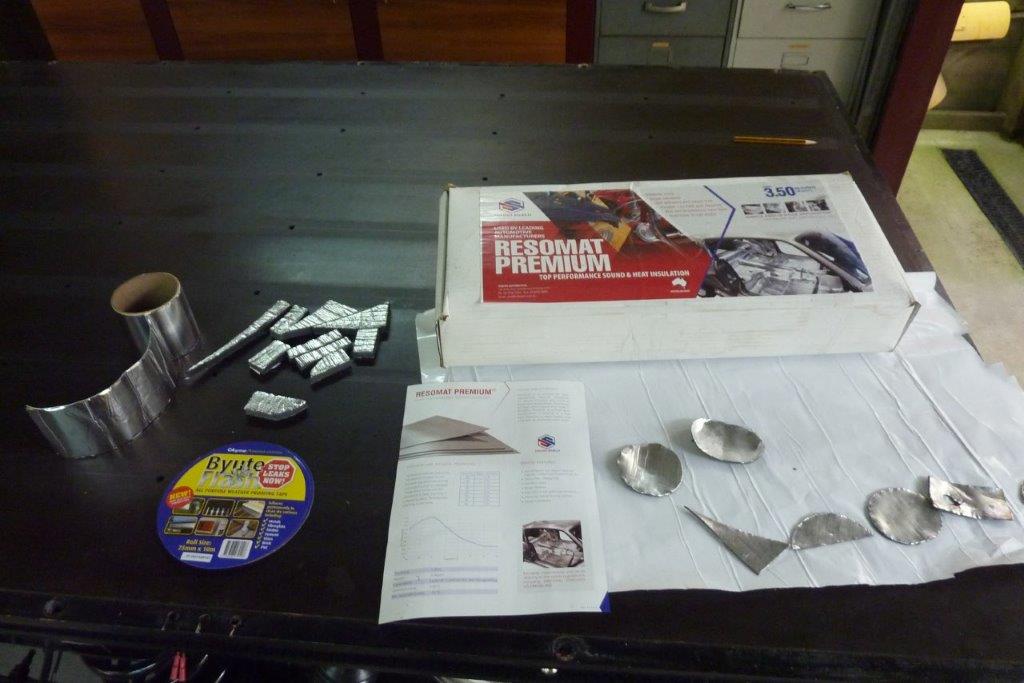
These little scraps are all I had left of the three products used!
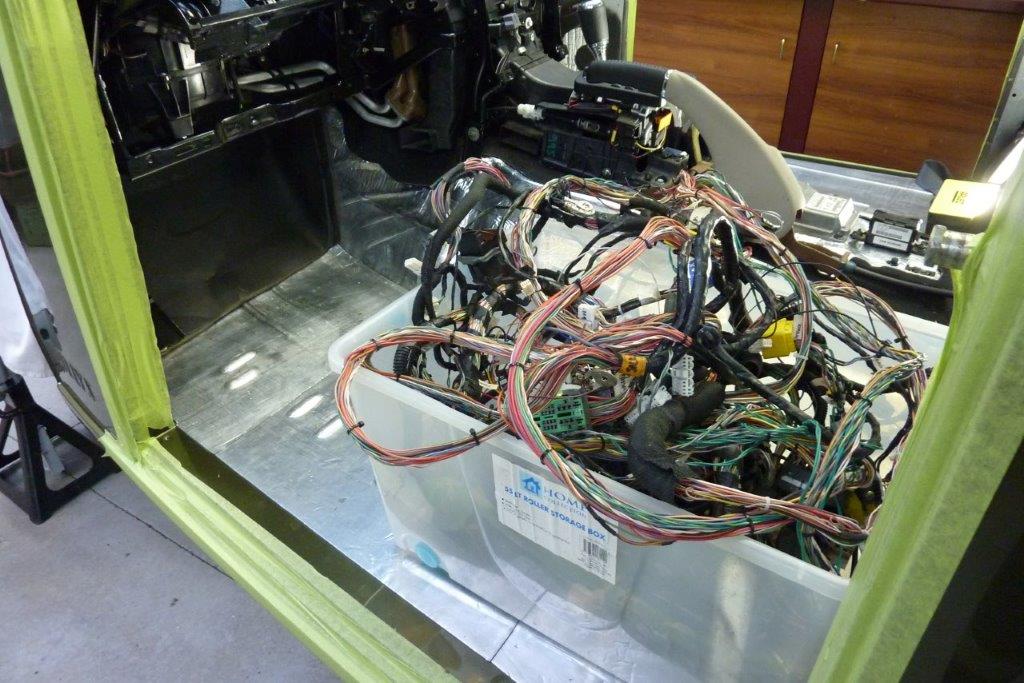
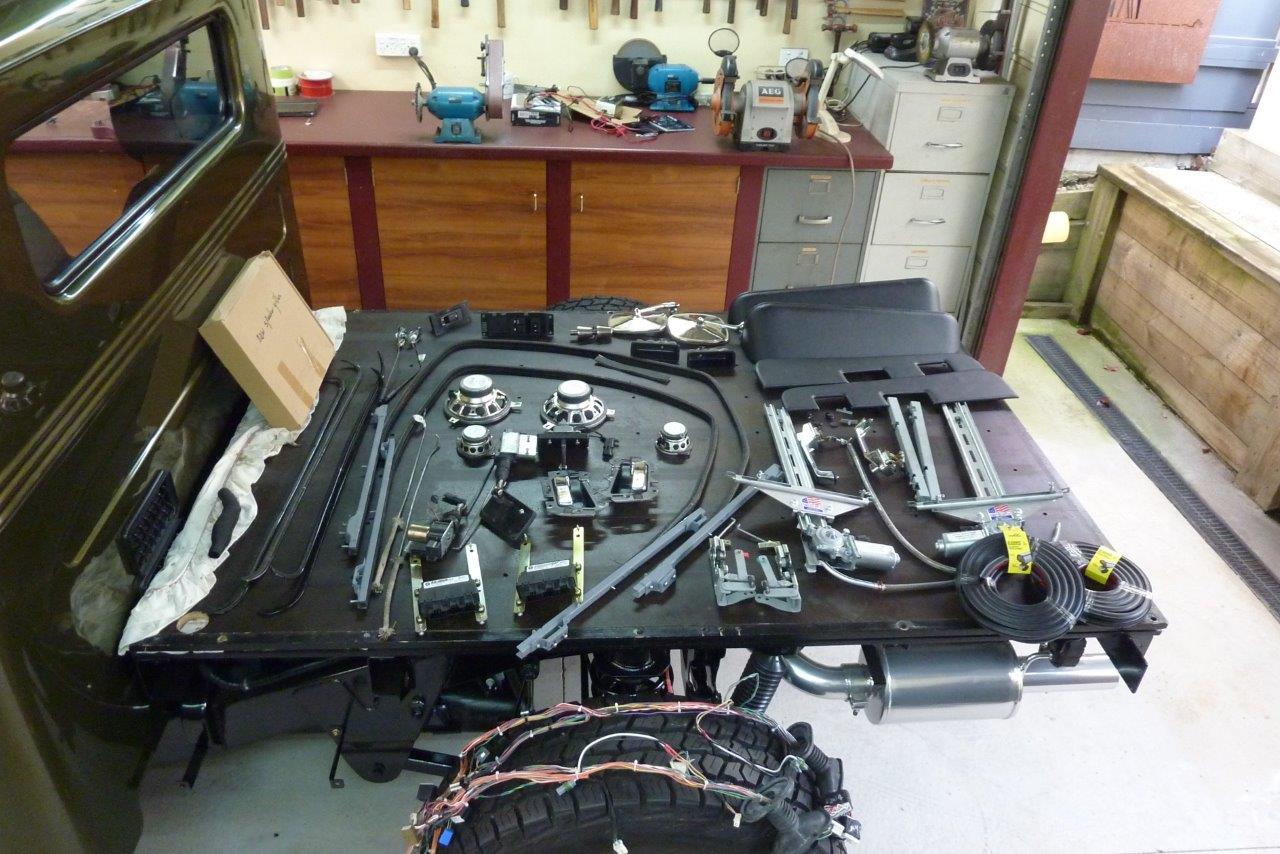
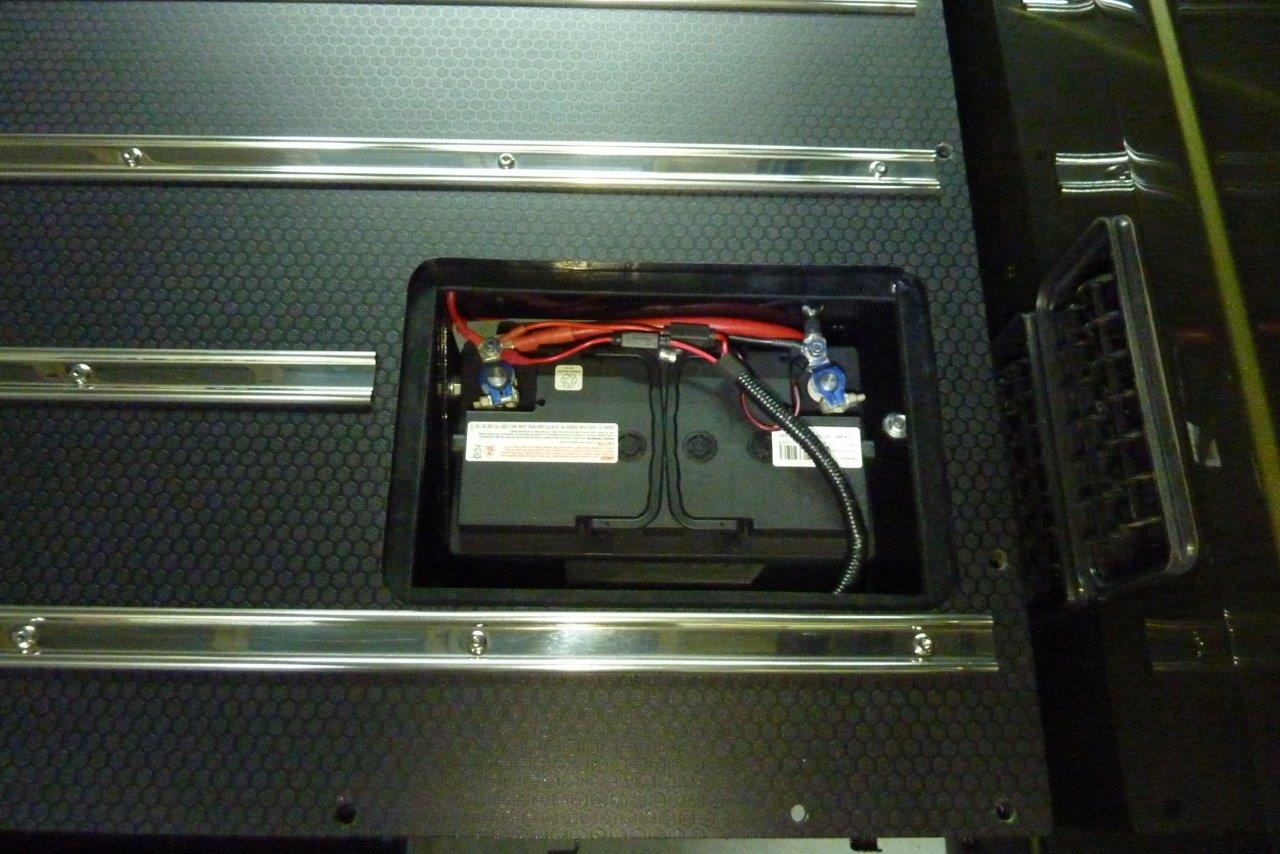
Now the last of the wiring harness can go back in as the upper cab and whole chassis is already fitted. This is just for the floor and behind the dash.

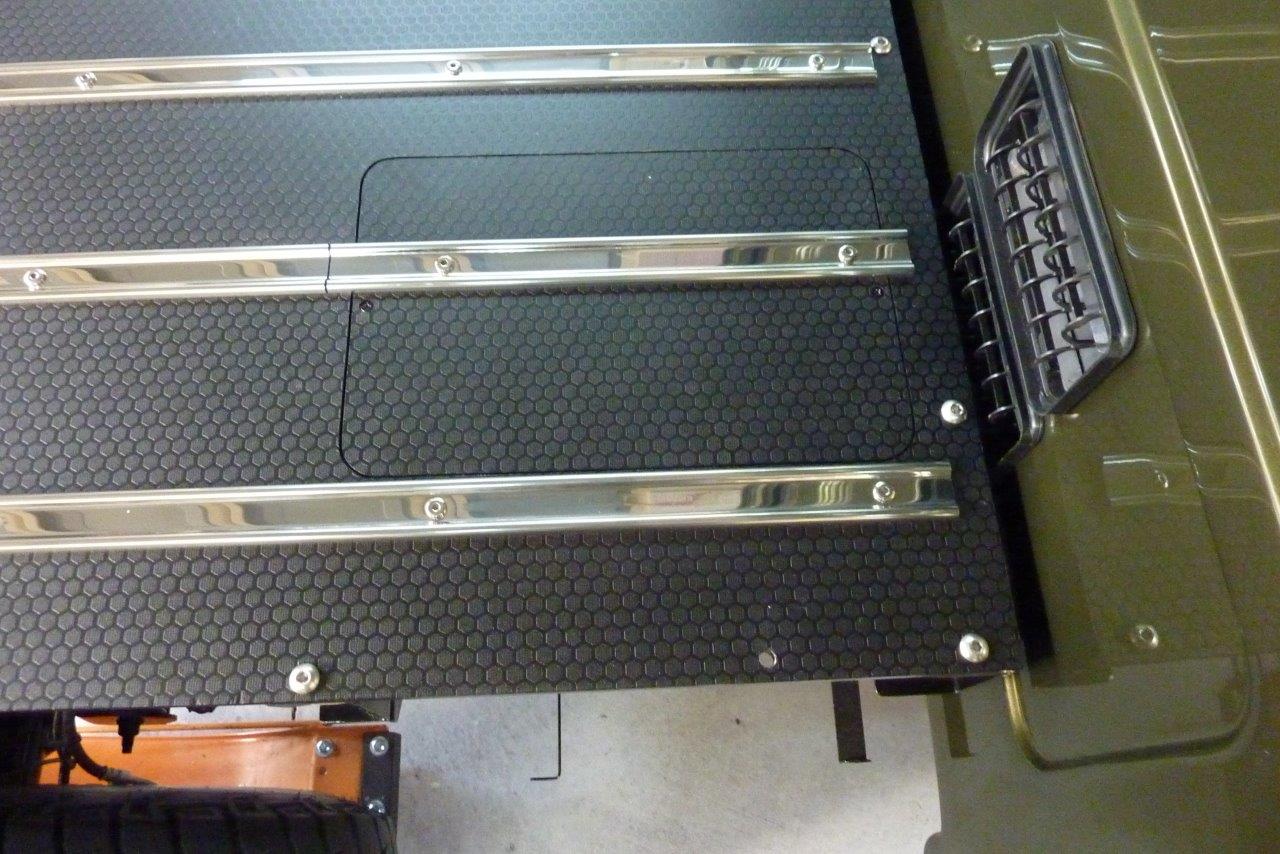
With wiring in place the rear wall can go back in and fortunately the holes I made for the rear vents while the cab was away being painted, fitted perfectly. Nice when the measurements taken months earlier work out. The one piece ceiling is also back place.
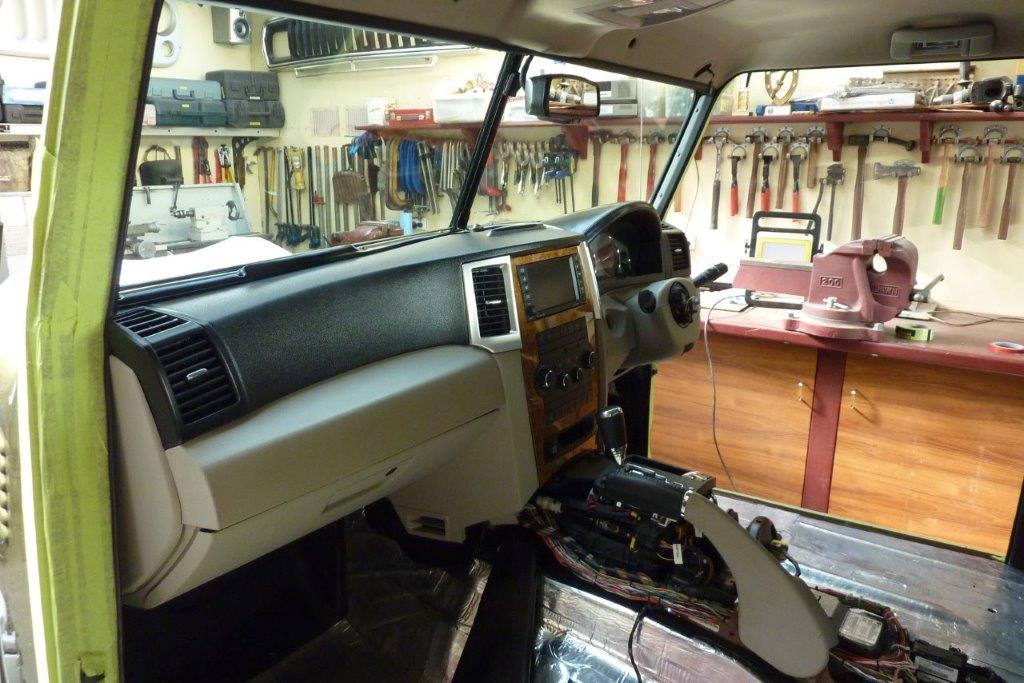
Dash is back in after the A/C and all the ducting etc was added.
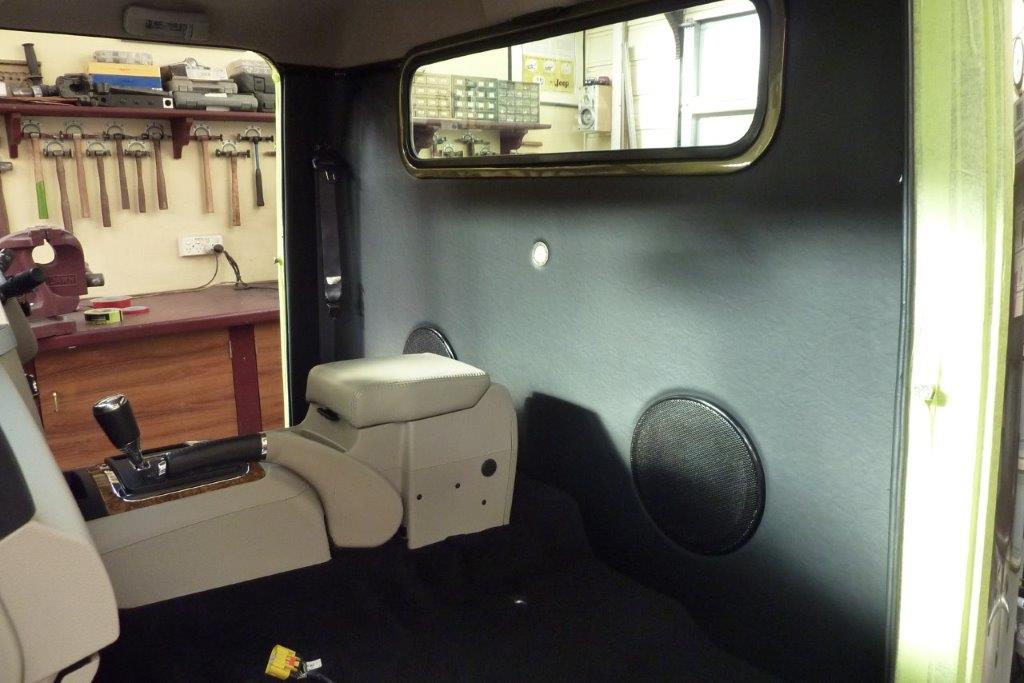
Console, carpet and subwoofer grilles to cover the vents in place. I fitted a filter layer behind the grilles to reduce sound and stop any stay dust coming through the control flaps.
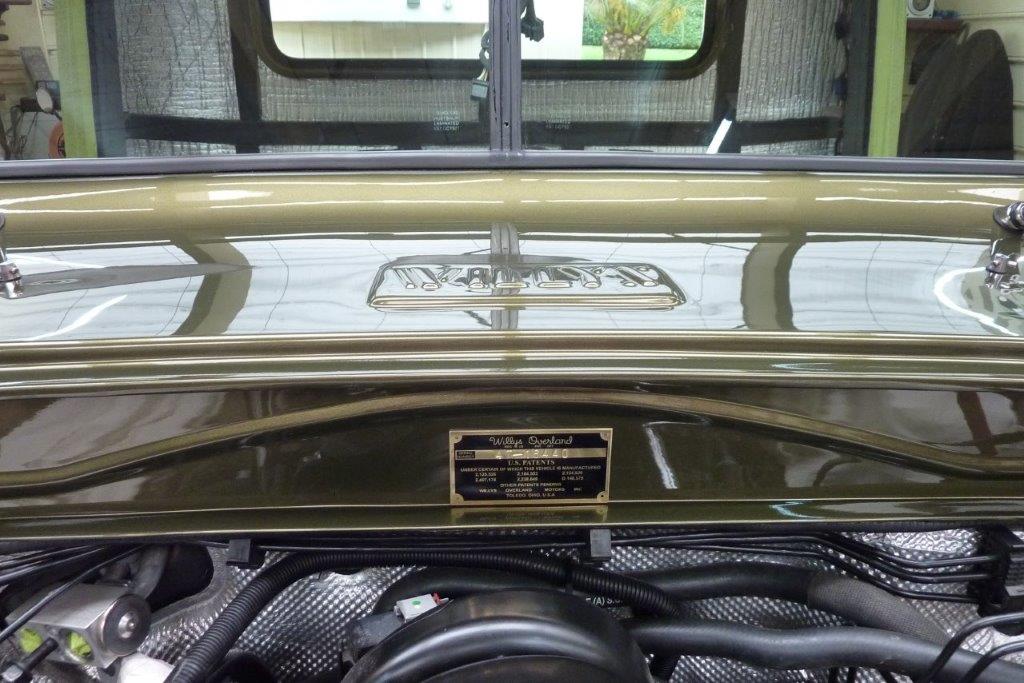
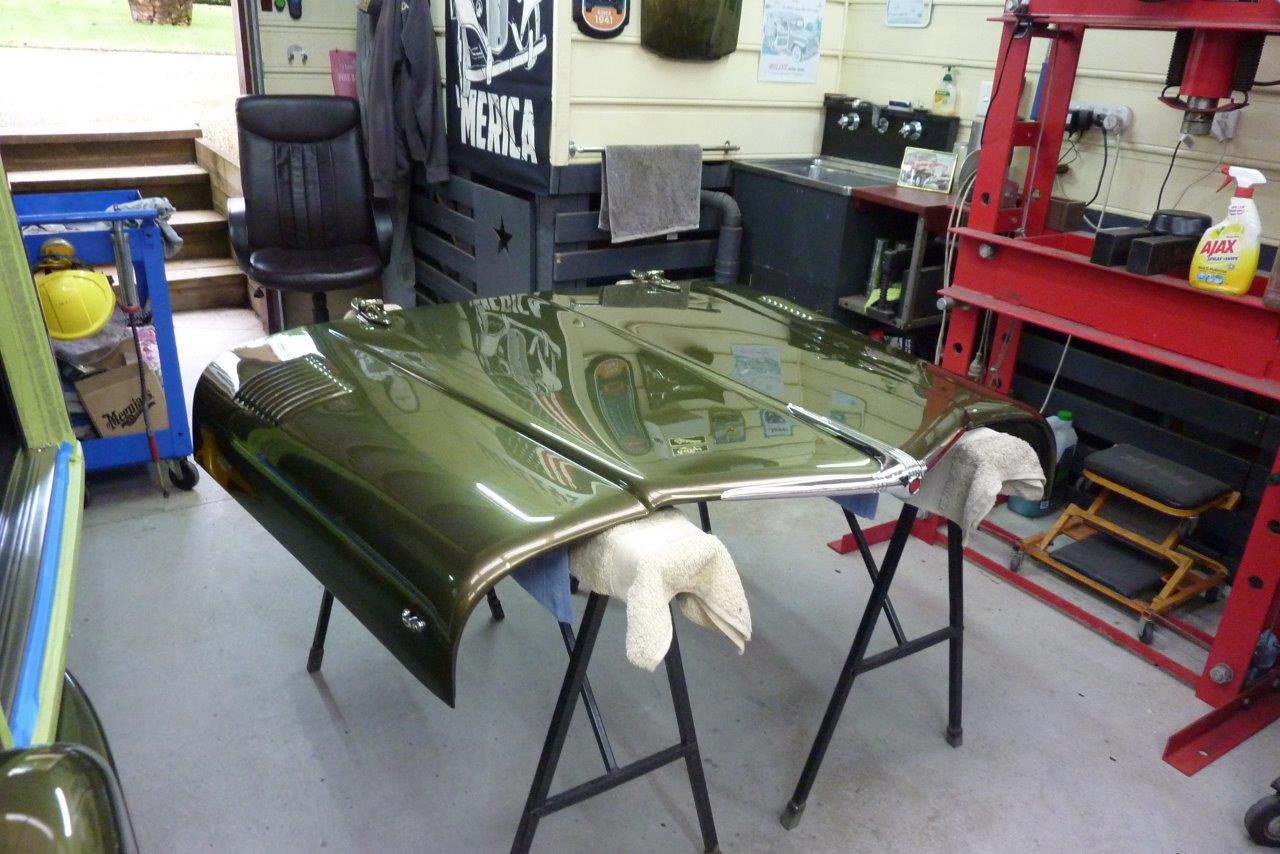
Got a really nice brass etched body tag that I stamped with the chassis number out the the UK too! Think the brass suits the gold pearl in the paint better than the standard aluminium one.
Something that is being added for the first time is the heat, sound and vibration layer. The floor is all done in Resomat which was even used in our Australian army vehicles and was locally made near me. A layer of loaded vinyl and aluminium and can even be pulled back and stuck back down if needed. Pity it is no longer made! Top of the tunnel is done in the more common butyl and aluminium layer and can be bought by the roll in different widths from the hardware store as I had run out of the Resomat.
The whole rear wall and ceiling is layered in Formshield, https://www.clarkrubber.com.au/produ...778-formshield, which is a sound and heat control substance which is also a moisture and fungi protection layer and is fire rated.
These little scraps are all I had left of the three products used!
Now the last of the wiring harness can go back in as the upper cab and whole chassis is already fitted. This is just for the floor and behind the dash.
With wiring in place the rear wall can go back in and fortunately the holes I made for the rear vents while the cab was away being painted, fitted perfectly. Nice when the measurements taken months earlier work out. The one piece ceiling is also back place.
Dash is back in after the A/C and all the ducting etc was added.
Console, carpet and subwoofer grilles to cover the vents in place. I fitted a filter layer behind the grilles to reduce sound and stop any stay dust coming through the control flaps.
Got a really nice brass etched body tag that I stamped with the chassis number out the the UK too! Think the brass suits the gold pearl in the paint better than the standard aluminium one.


Comment